Hello Guest November 22, 2024, 18:15:22 *
Welcome, Guest. Please login or register.

Login with username, password and session length
 
Pages: [1]   Go Down

Author Topic: bow  (Read 1657 times)

ship1999$

  • Forum member
  • Posts: 42
bow
« on: June 16, 2013, 09:54:22 »

i wabt ask how i can to create the bow and the down section of the ship.in shertchup
Logged

michael_taal

  • Forum member
  • Posts: 786
Re: bow
« Reply #1 on: June 17, 2013, 20:21:13 »

i wabt ask how i can to create the bow and the down section of the ship.in shertchup

hello,
i will make some pics how I do this.

step 1
we make the base, it is made from a square (green part) and a half circle (red) the circle you can make with the arc tool
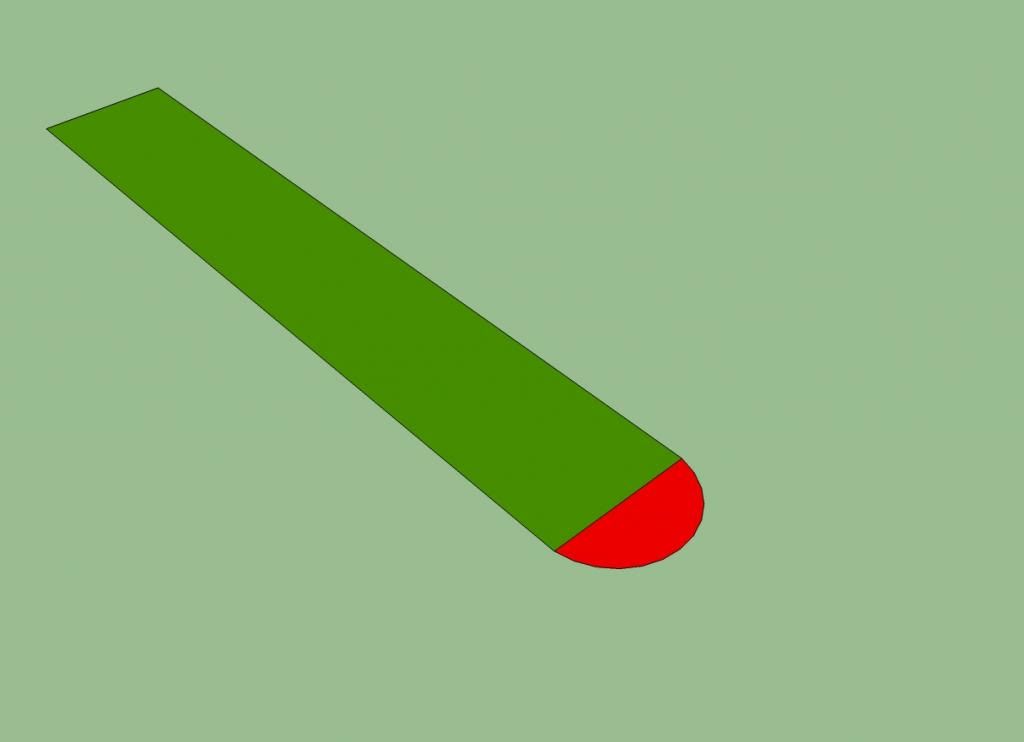
(http://s1205.photobucket.com/user/michael-taal/media/samplr_zps47230700.jpg.html)

step 2: duplicate

with the Move tool and CTRL you can duplicate a section so that are we doing, after you have duplicate step 1 at the height you want you need to move it forward so you have almost made the body (you can see a ship strucure is appearing)
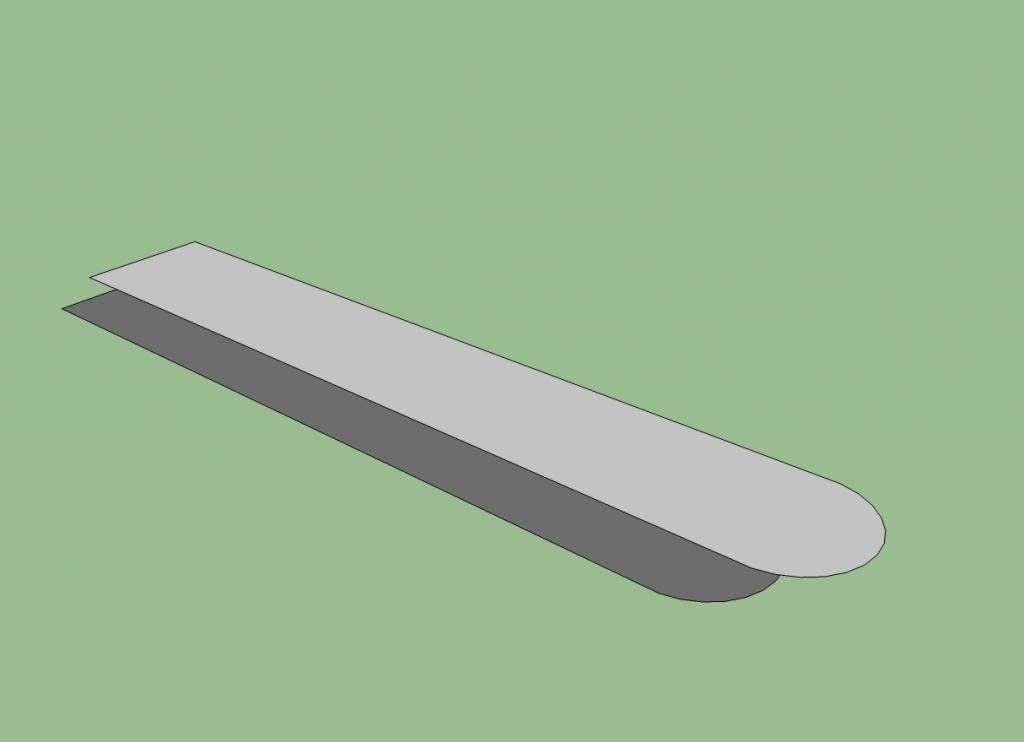
(http://s1205.photobucket.com/user/michael-taal/media/sample_zps4f1b0ffc.jpg.html)

step 3: making the skin

step 3 takes the mos time because you have to make the skin
it will look like this:
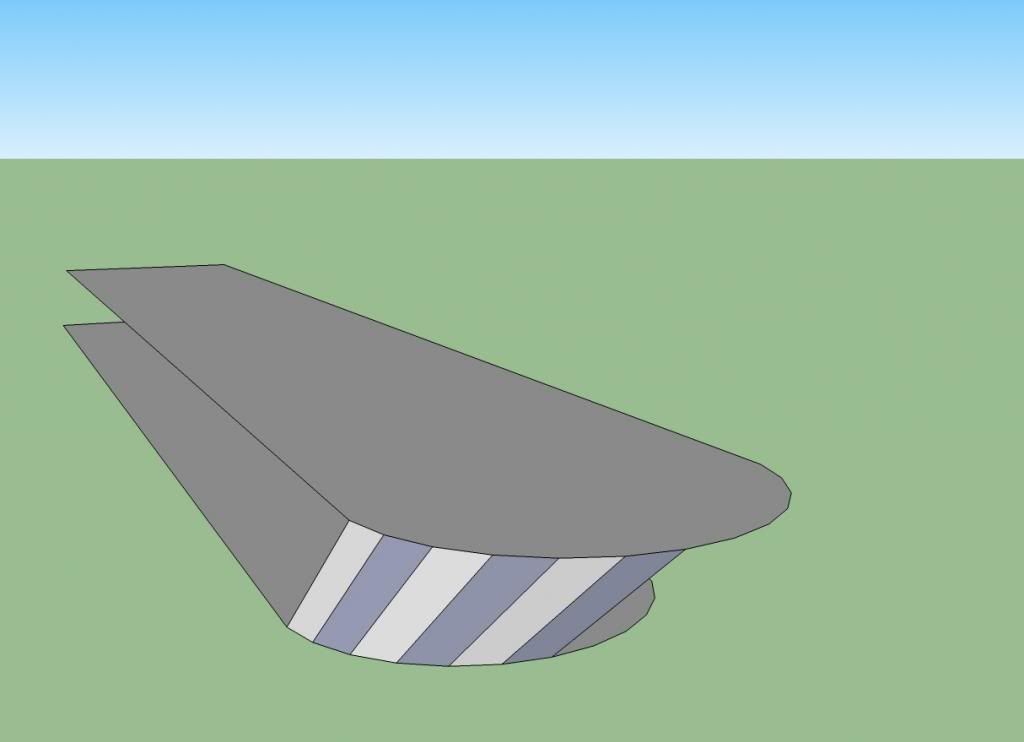
(http://s1205.photobucket.com/user/michael-taal/media/Untitled-8_zpsd1500189.jpg.html)
after you have made all the lines it will look like this, if it isn't something went wrong
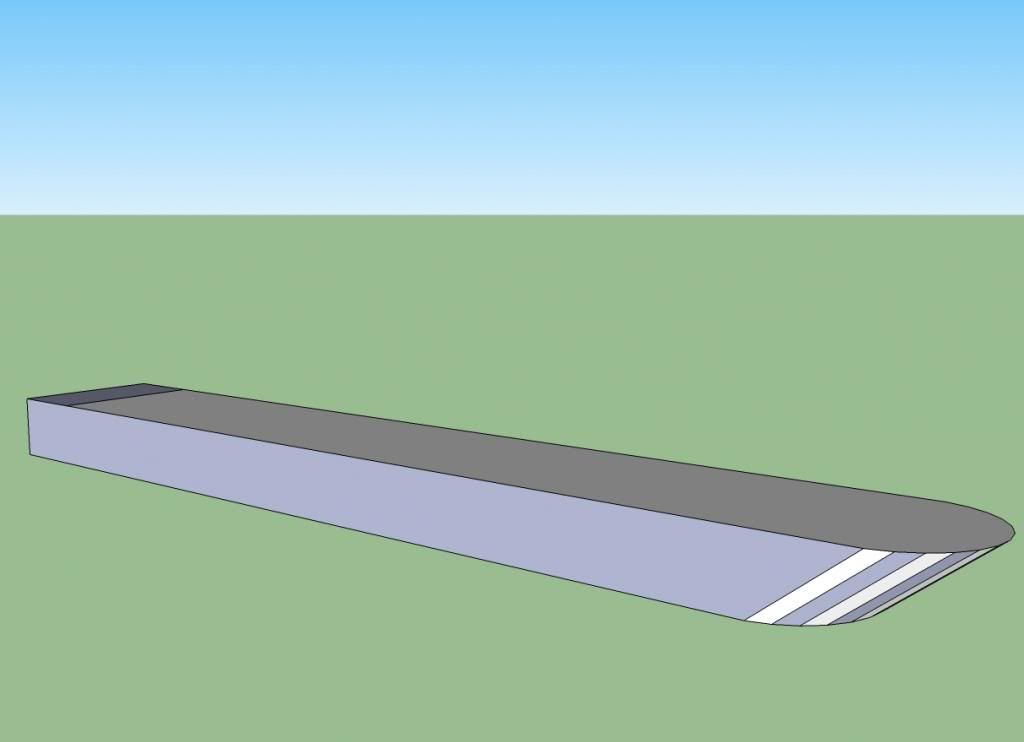
(http://s1205.photobucket.com/user/michael-taal/media/Untitled-8_zpsbb152396.jpg.html)

step 4: hull

now we are going to make the hull
first you make a square
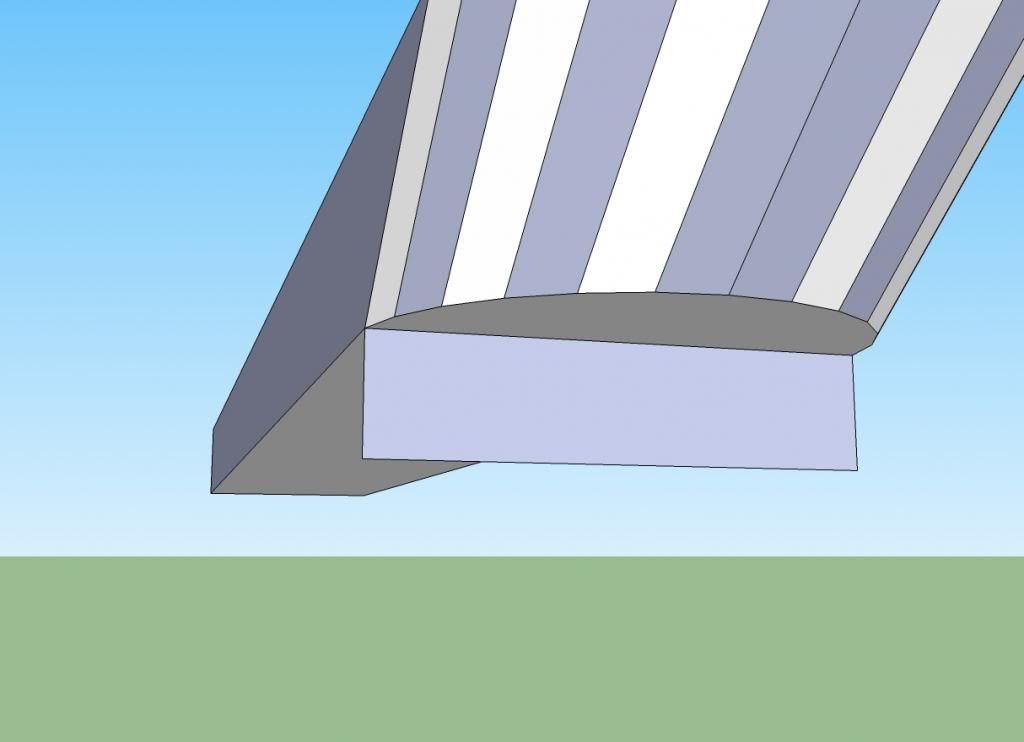
(http://s1205.photobucket.com/user/michael-taal/media/Untitled-8_zps0df4e47f.jpg.html)

and with the arc tool you make some roundings
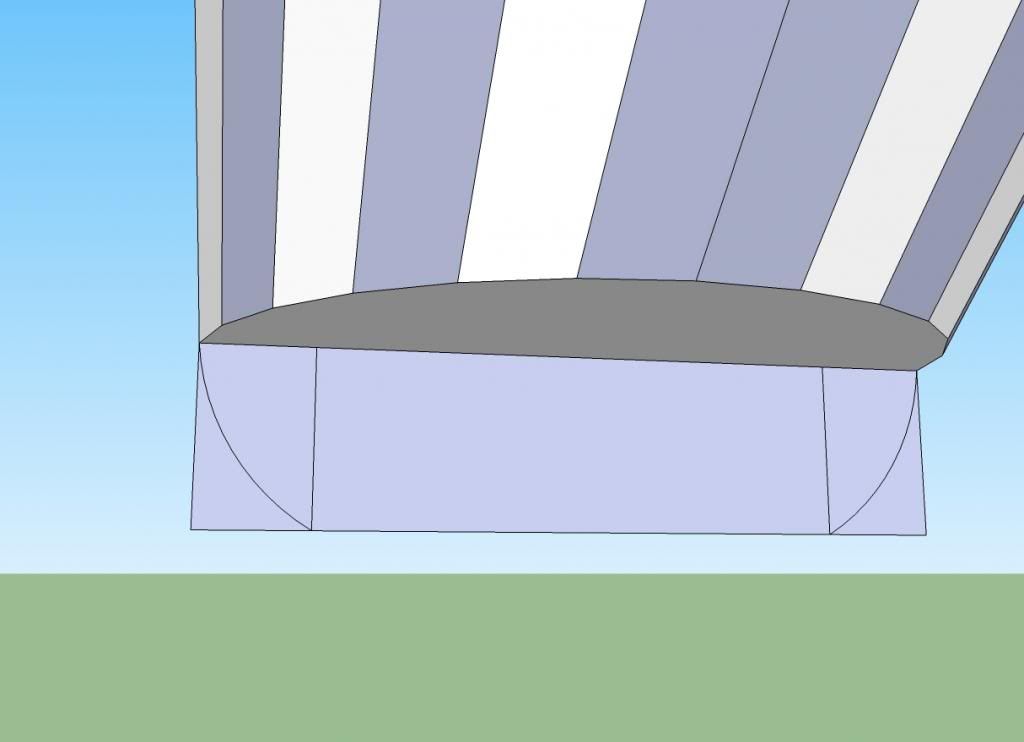
(http://s1205.photobucket.com/user/michael-taal/media/Untitled2-5_zps0c1c7791.jpg.html)

with the eraser you erase the lines that are not needed and stretch it with the Push/Pull tool, so you get something like this:
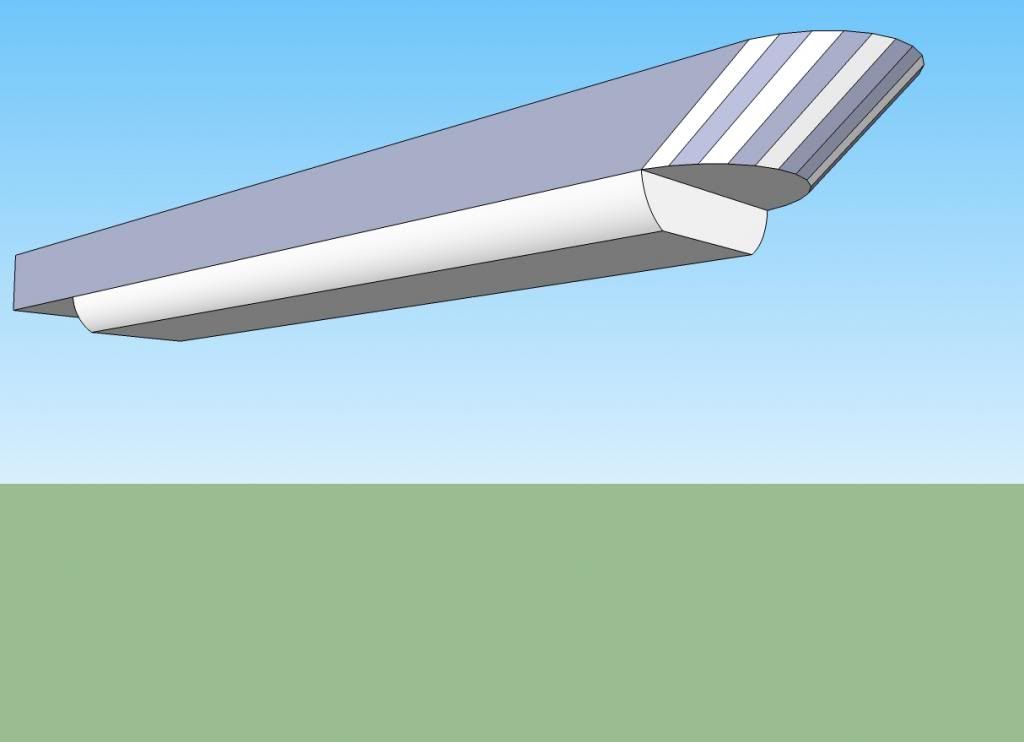
(http://s1205.photobucket.com/user/michael-taal/media/Untitled3-1_zps62f04dd2.jpg.html)

we now make the hull a little bit smoother (not my best part sorry)
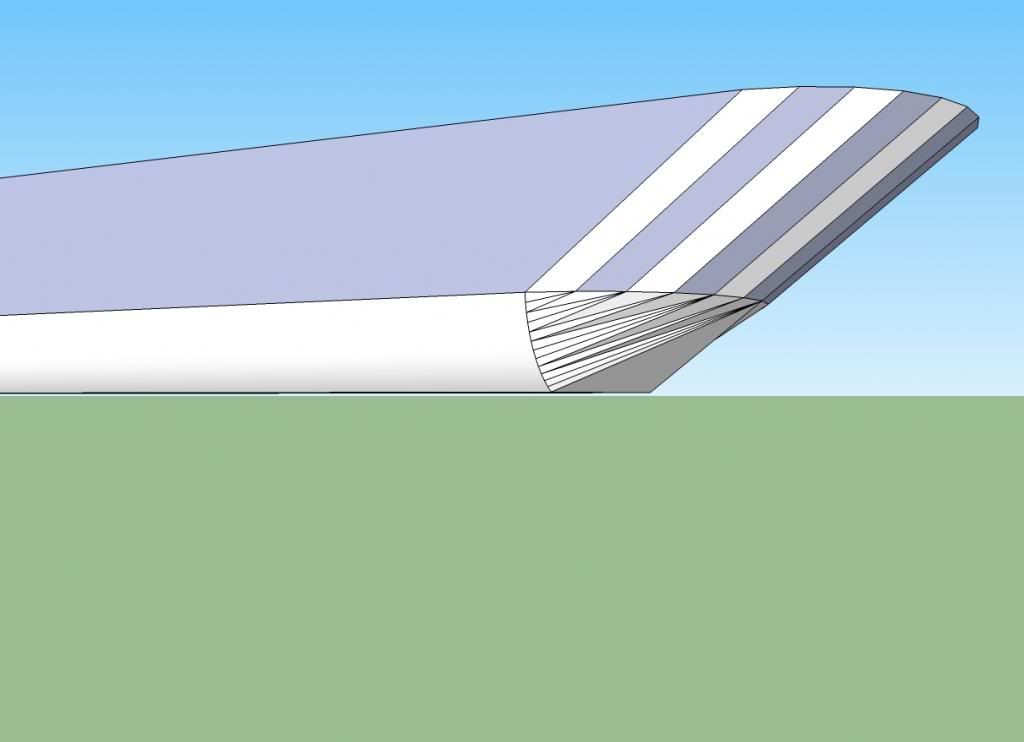
(http://s1205.photobucket.com/user/michael-taal/media/Untitled-8_zpsb51508ee.jpg.html)

this works almost the same like making the bow
(http://s1205.photobucket.com/user/michael-taal/media/Untitled3-1_zpsca041311.jpg.html)

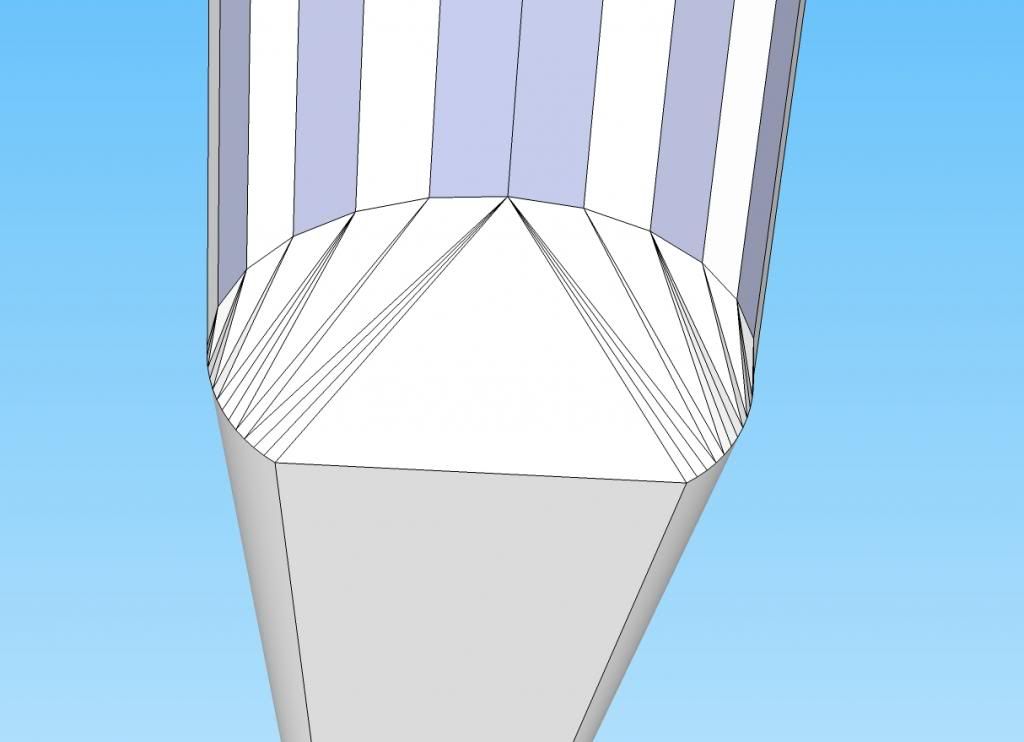
now we are going to smoothen the stern
make a triangle
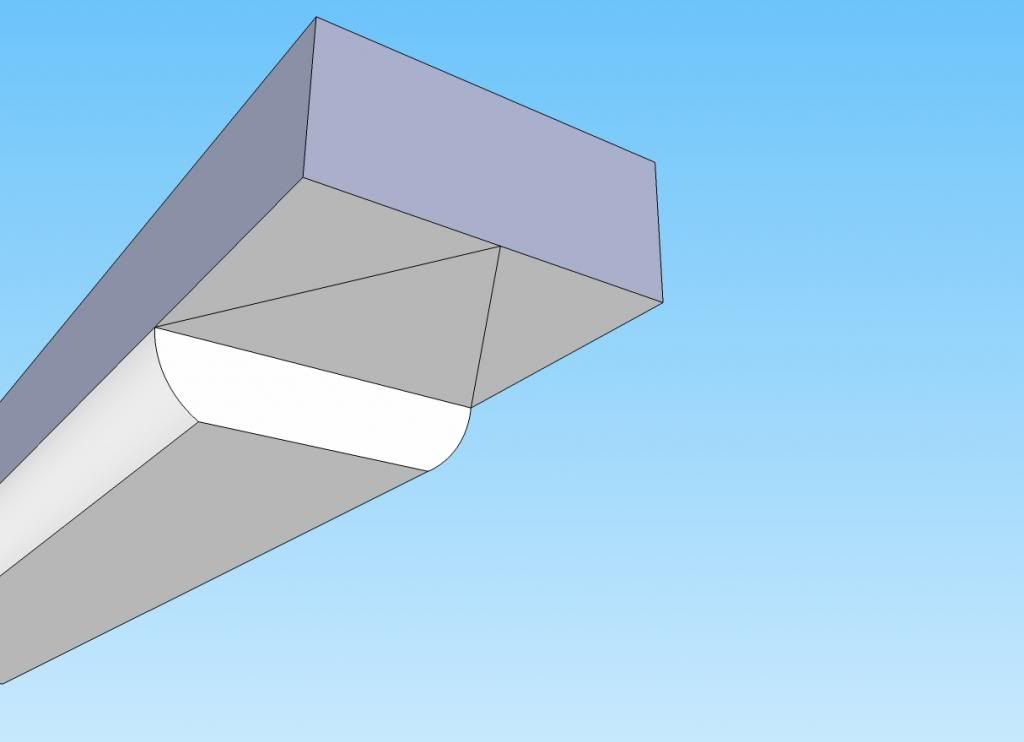
(http://s1205.photobucket.com/user/michael-taal/media/Untitled-8_zps580fefd8.jpg.html)

as you can see on this picture the roundings has little corners on every corner you draw a line to the end from the triangle
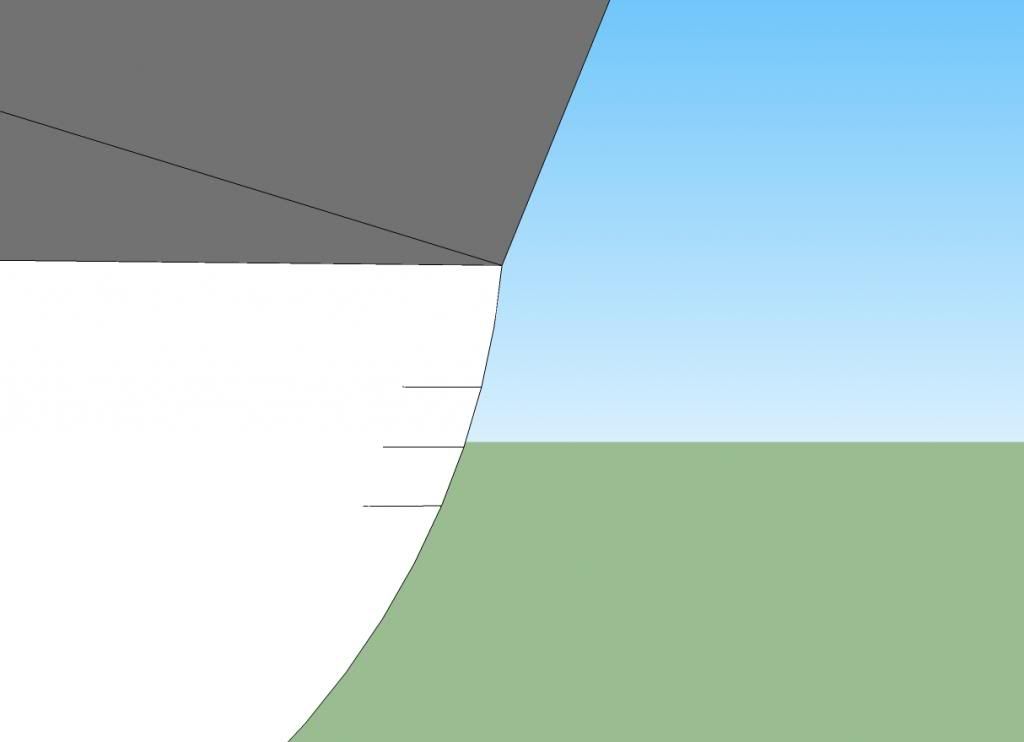
(http://s1205.photobucket.com/user/michael-taal/media/Untitled-8_zps6361e721.jpg.html)

so you get something like this on the end
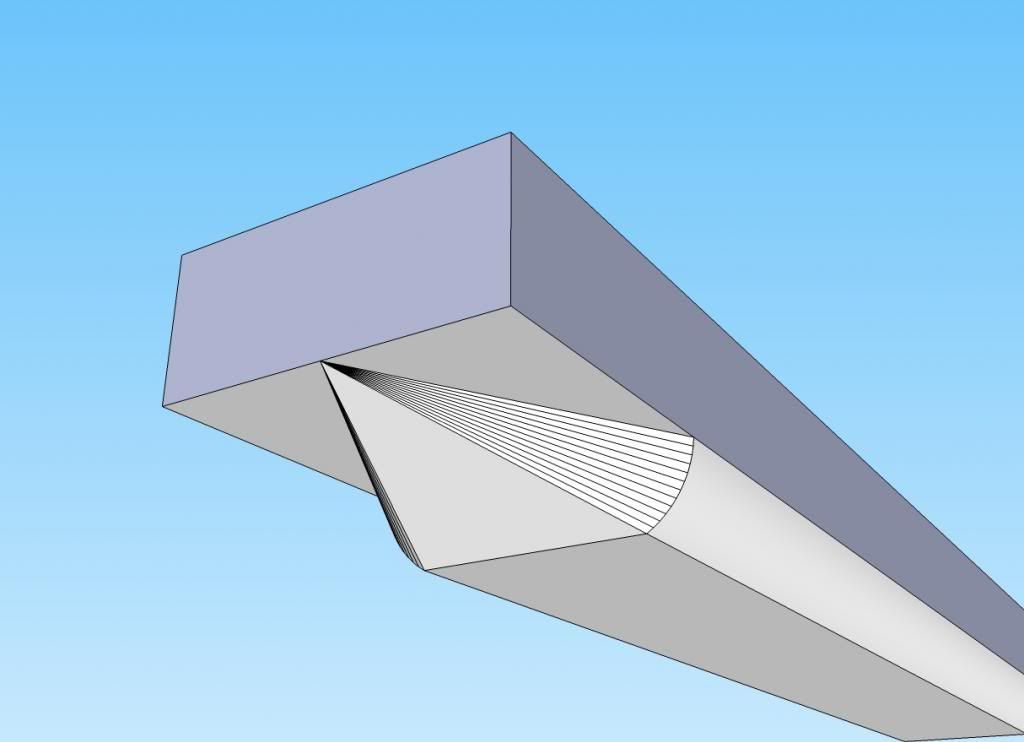
(http://s1205.photobucket.com/user/michael-taal/media/Untitled-8_zpsee7ccdc1.jpg.html)

give the ship a color and upper structure and you are done
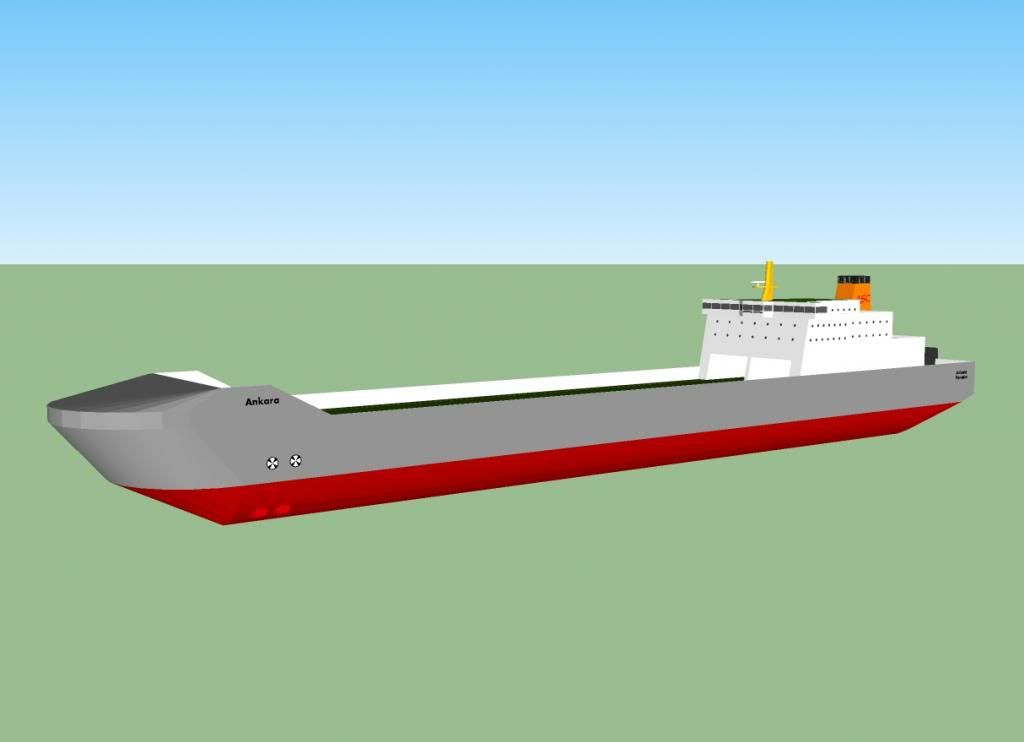
(http://s1205.photobucket.com/user/michael-taal/media/Untitled-8_zps004fa348.jpg.html)
Logged

Captain Cadet

  • Forum member
  • Posts: 1708
Re: bow
« Reply #2 on: June 17, 2013, 21:15:29 »

As I said i will get my promised tutorial out soon - hopefully tommorw but i have had to do other things today.
Logged
Captain Cadet
Please don't message me for technical support!

VirtualSkipper

  • Forum member
  • Posts: 2047
Re: bow
« Reply #3 on: June 17, 2013, 21:55:29 »

I have this simple tutorial on how to make a rough shaped bulbous bow.

Step 1:

Make a simple form like so, using the Arc tool (next to Line, Rectangle and Circle)


Step 2:

This is a part which begins a bit annoying but can serve as a bit of a help. Just connect all the Endpoints together.


Step 3:

After being finished with step 2, you must now use the Arc tool again to make the circular shapes over the lines which we drew in the last step. Begin like so...

And the result should be like so...


Step 4:

Now we are at the beginning for what will be soul-ripping in a few minutes. Now connect all the Endpoints opposite to eachother of the circle. Begin like so...

And the result should be like so... You'll get a sort of mutilated blimp figure.


Step 5:

Now we begin with the most soul-ripping part. Consider these as square holes which are separated by the lines. Just diagonally connect one end to the other with a line like so...

The progress would look like...

And finally like...


Step 6:

Now just copy the whole thing. When you've copied it, select that whole copy and right-click it. You should see an option called 'Flip Along'. Depending in which direction you've made the model, select the colour which runs across the width (the Axes). The axes are green, red and blue. Choose the colour in Flip Along which runs through the width of the model. Then it should look like this.

And after that, just simply put them together to this.


Tada! It is complete.


But I guess you want to get rid of those ugly lines now... The best solution to that is to select the whole model, right-click it and then use the Soften/Smooth Edges tool. Be sure that 'Smooth normals' and 'Soften coplanar' are checked when you click it! Just slide it in such a way that it looks smoother. I, however, was a bit lazy to also remove the walls inside the model... But it maybe should look like this at the very end.


I hope this rough tutorial helped!

On a personal note, I think I could have made it a bit wider...
« Last Edit: June 17, 2013, 21:57:46 by VirtualSkipper »
Logged
"There is a plaque laid next to the remnants of the Titanic which reads, "Only Chuck Norris is unsinkable"

Captain Cadet

  • Forum member
  • Posts: 1708
Re: bow
« Reply #4 on: June 17, 2013, 22:41:10 »

God you do it a hell of a lot more complex than I would.
Logged
Captain Cadet
Please don't message me for technical support!

Mr Robville

  • Administrator
  • Posts: 2937
Re: bow
« Reply #5 on: June 18, 2013, 07:31:14 »

ship1999$,
Please limit these questions to one topic. Otherwise the board will become an unorganized mess real quick.

I'll lock two topics.
Logged
Pages: [1]   Go Up


SMF 2.0.14 | SMF © 2017, Simple Machines