I originally posted this in dexter's topic, but I think it's interesting for some people to post it as a stand alone tutorial aswell.
may I present:
Sketchup Tutorial: Creating a traditional screw with volumeIn this tutorial, you'll be shown how to make a traditional like propeller with blades that actualy have volume!
Basic sketchup knowledge is required, nothing advance.
Step1: The blades:First we start off by drawing a rectangle next to the scene's axis:
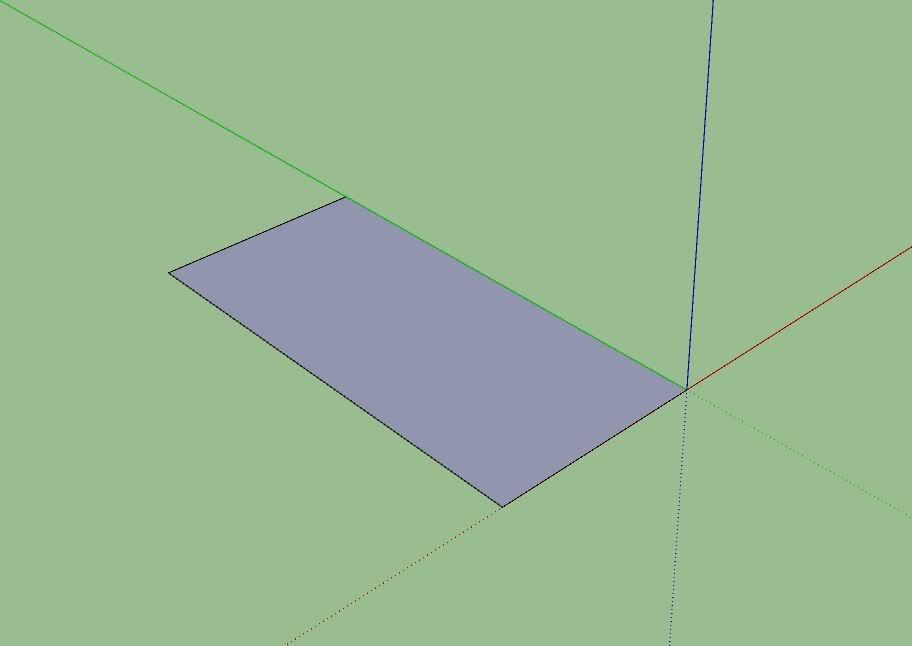
when that's done, we can start drawing the shape of the screw of how it will become. (notice, there are many diffrent types of screws where this Tutorial works for, I just used a traditional type as it's very "simple" from design)
Use the arc tool to create the top,
then the sides. Make sure the arcs from the sides get highlighted in cyan color indicating it follows the other arch's curve.
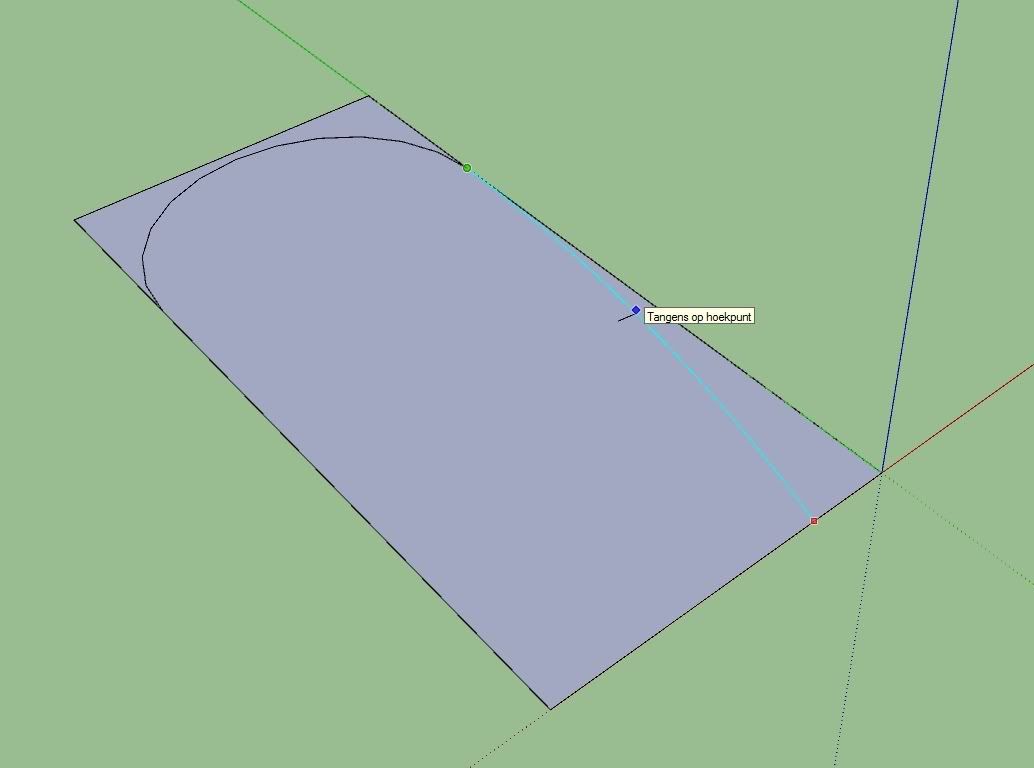
The screw doesn't have to be 100% symmetrical.
When the lines are drawn, you can delete the remaining edges around it.
This should give a smooth curve of the propeller:
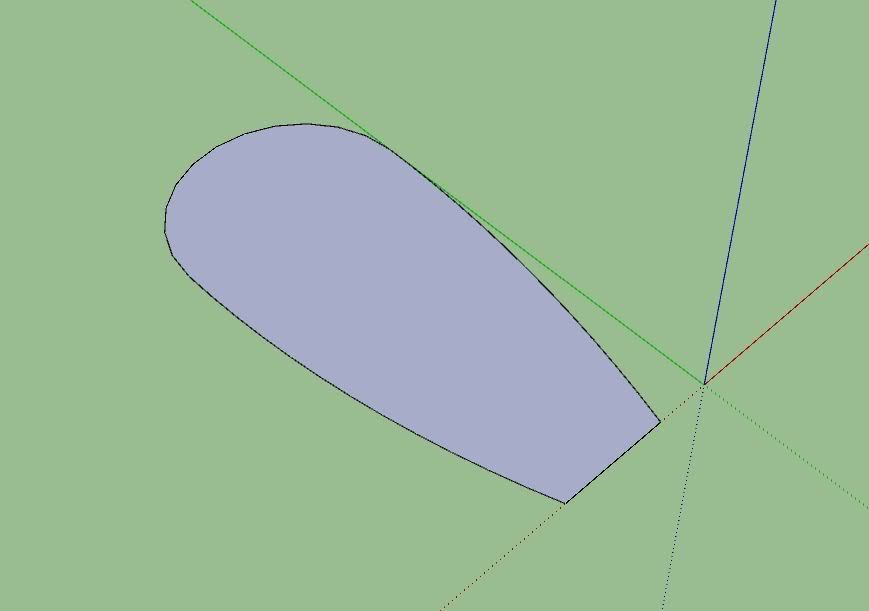
Now, lower the segments of the arches. I did this for the tutorial's convenience. You can add as many segments as you want but it will take more time to proceed the step after this one.
To lower the segments, do a right click on the arc, select propeties, and change the segments from 12 to 5
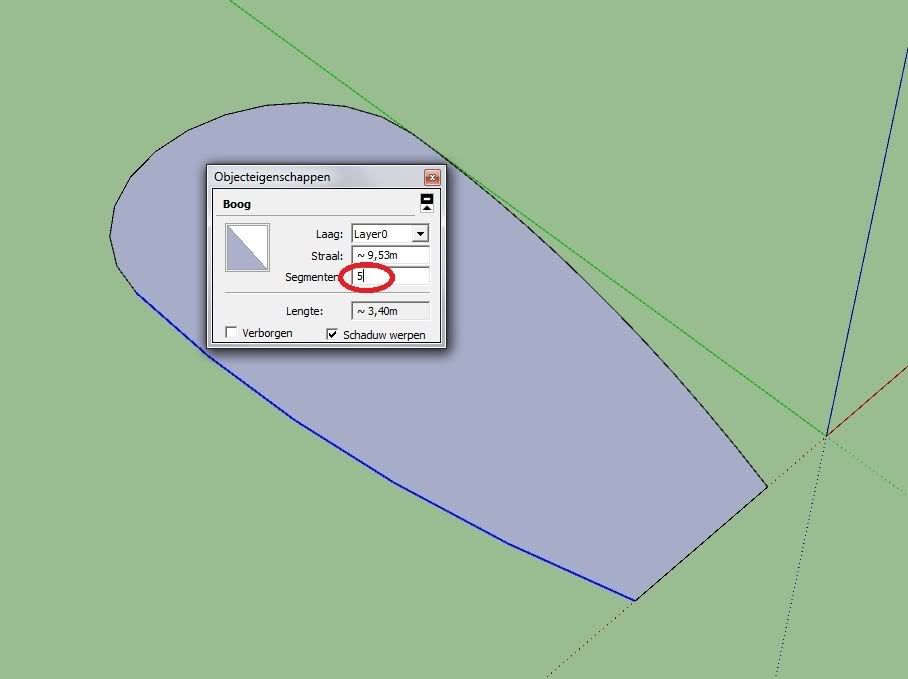
For the top one I used 6:
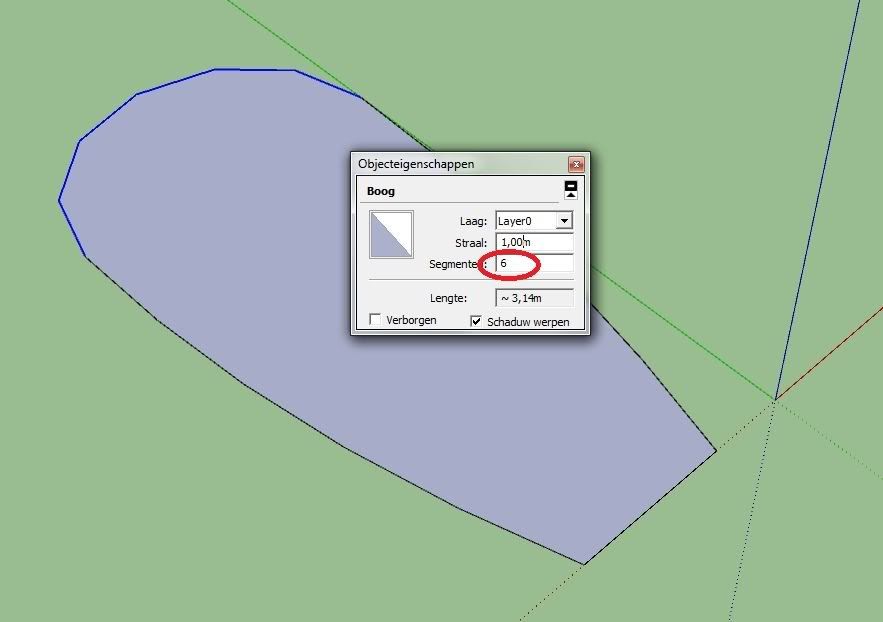
Now, draw lines between each segment:
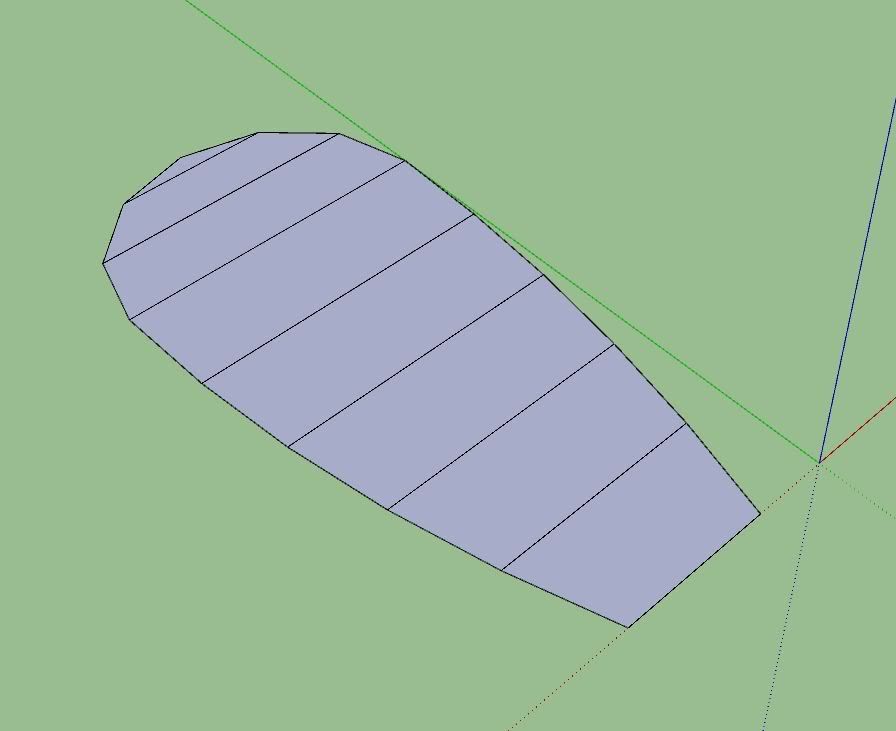
After you've done that, select the most bottom line, and rotate it on the green axis just slightly:
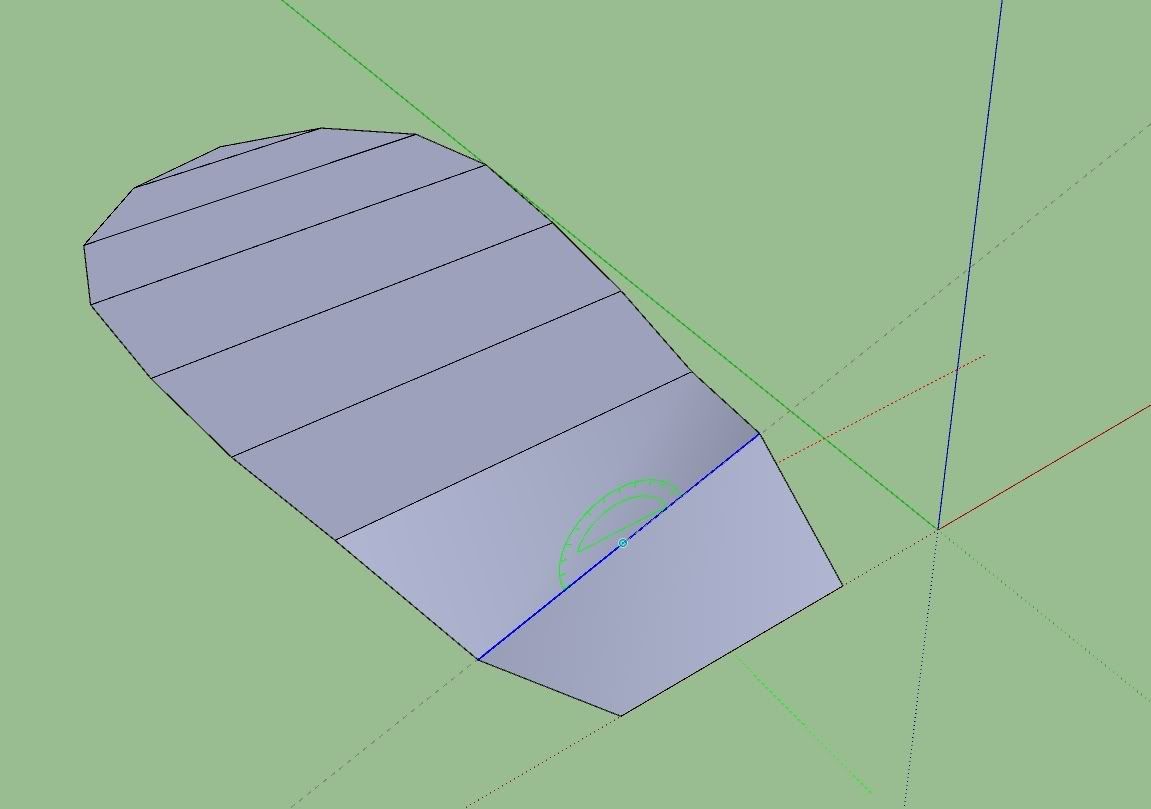
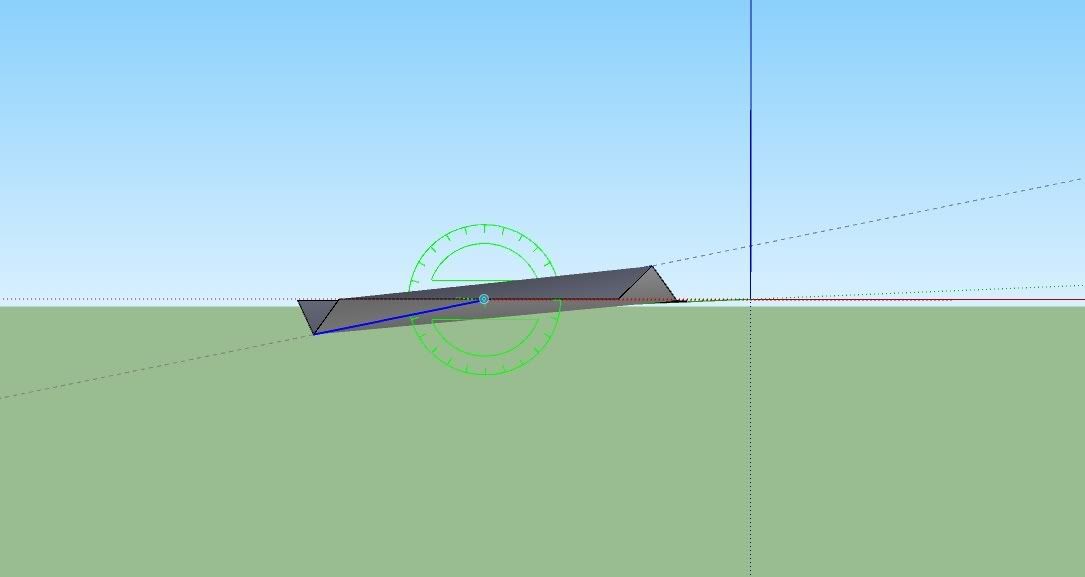
Repeat this step with the rest of the segments to create a smooth bend surface:
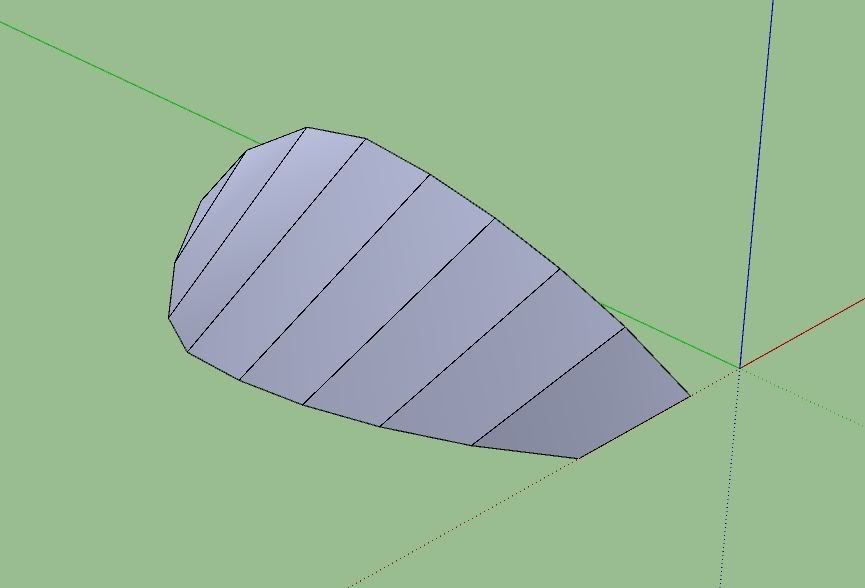
make sure you only rotate it slightly per each segment, else you would get a weird twisted blade.
If you still have a too large or too small bend in the blade, you can always scale the blade in it's height a bit.
Now, the planet I come from, we don't make ocean liner screws out of sheet metal. It's time to give it some volume!
Next: draw an arch at the very bottom of the screw:
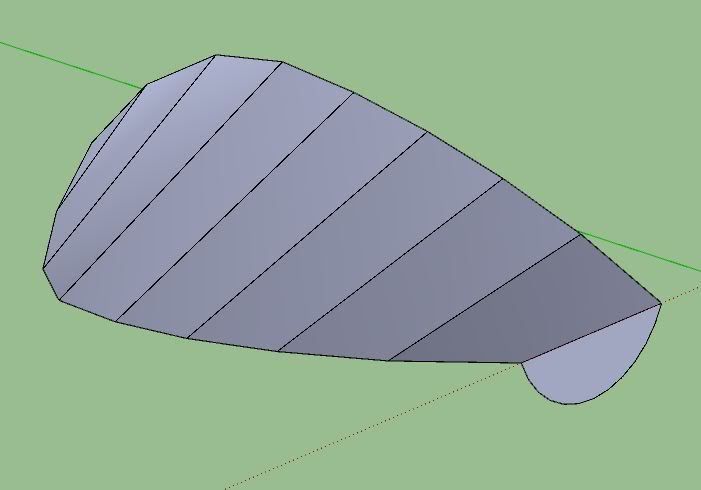
Repeat this on each other segment with going smaller in height at each segment:
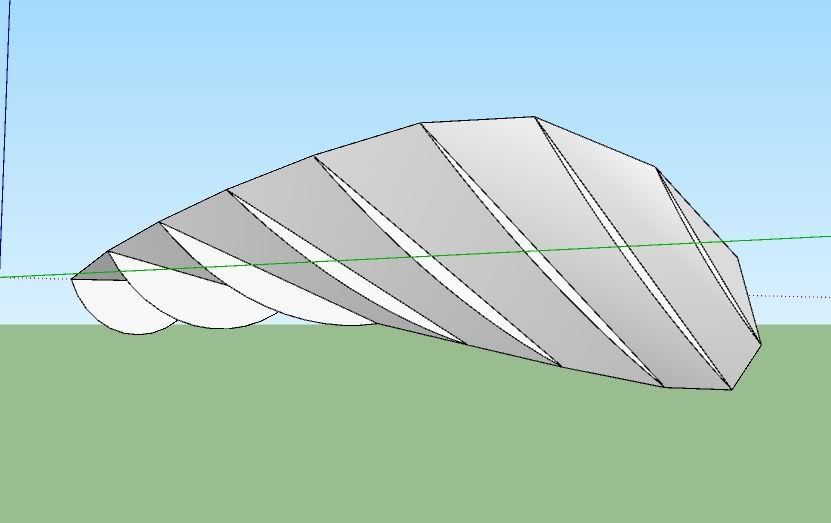
If your arches are already pretty flat before you reach the last segment, Don't worry, just make the last few arches all the same height.
after you've added all of the arches, remove the surfaces from them:
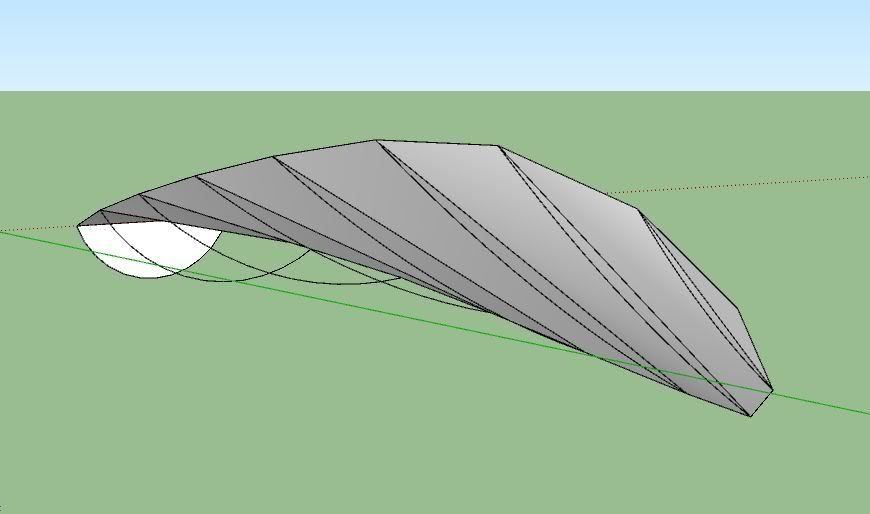
Then, change their segments back to 5:
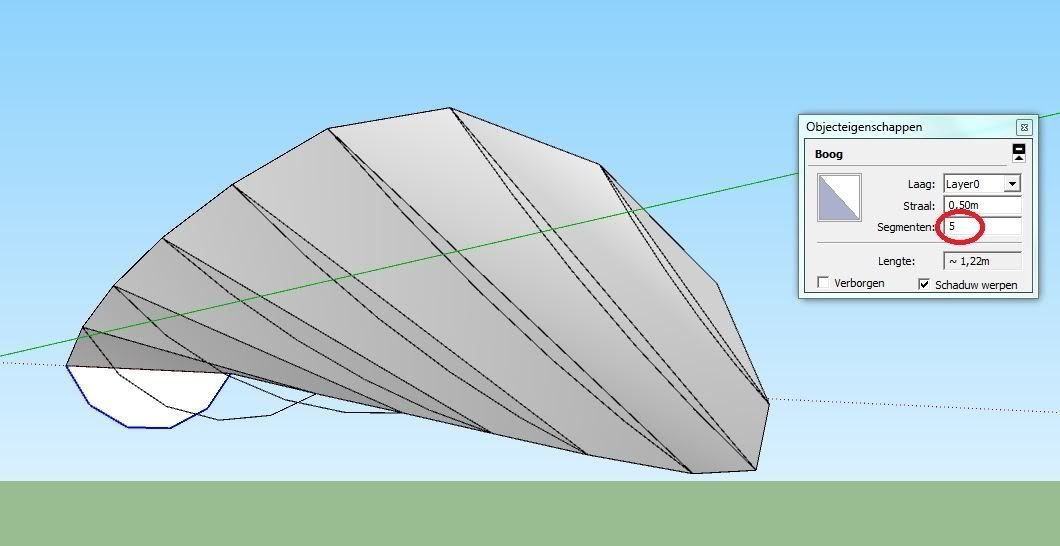
With all segments reduced to 5, it's time to fill the back side!
do this by drawing triangle polygons between each segment:
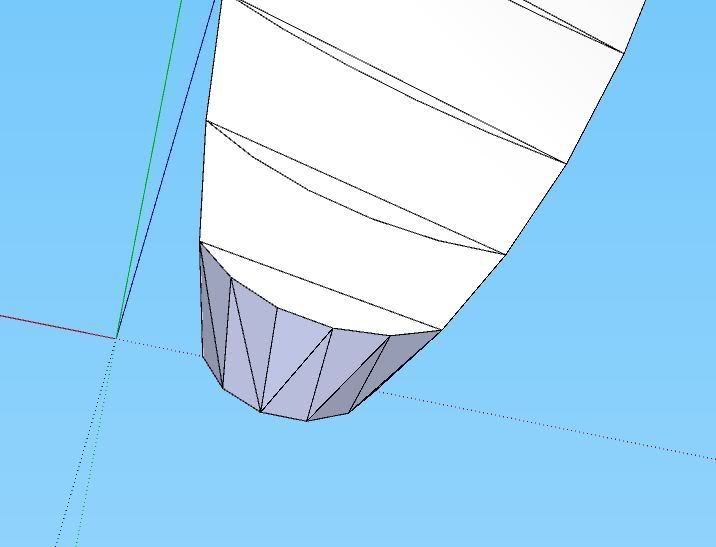
For a smoother look, it's recommended to make the direction of the triangles point inward like these images.
Also, if triangles are in conflict with those on the other side of the blade, you can change the direction of the triangle which interferes.
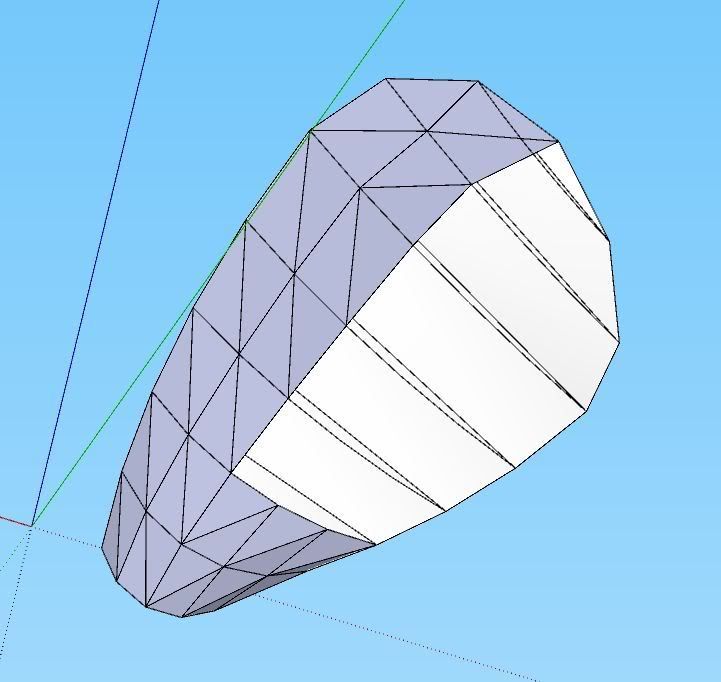
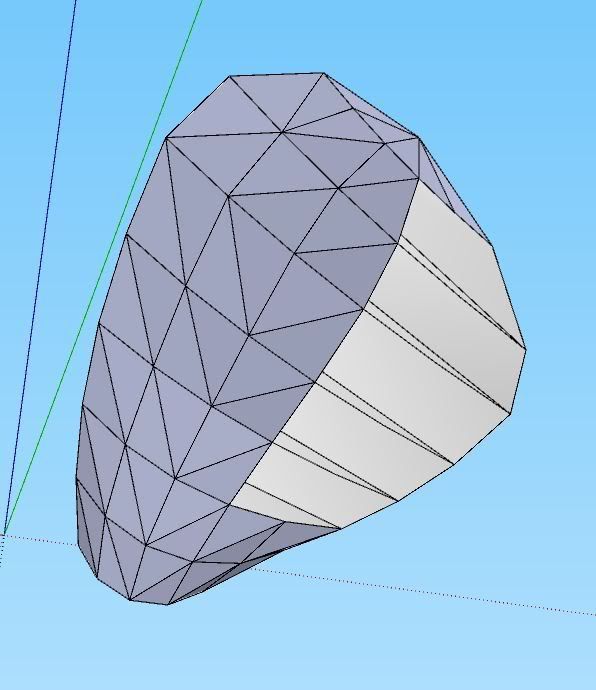
when done you should have a completed propeller blade!
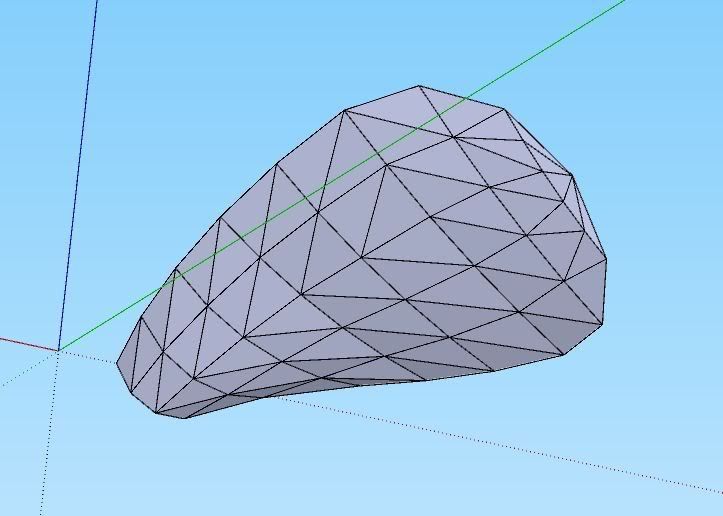
But still it looks awfull... we made a smooth shape, but it sure doesn't look like it!
To fix this, select the entire blade except the bottom edge:
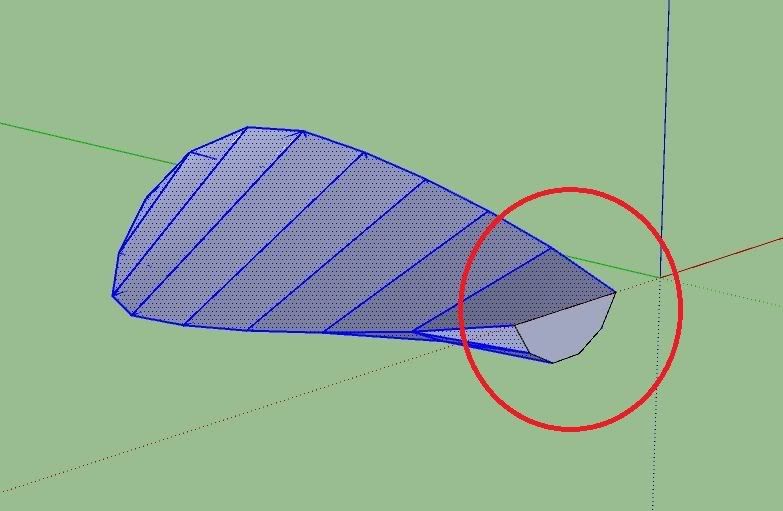
Then go to Window>Soften edges, and drag the slide to around 90 degrees depending on what shape your blade is. all must be smooth except the blade's profile and bottom.
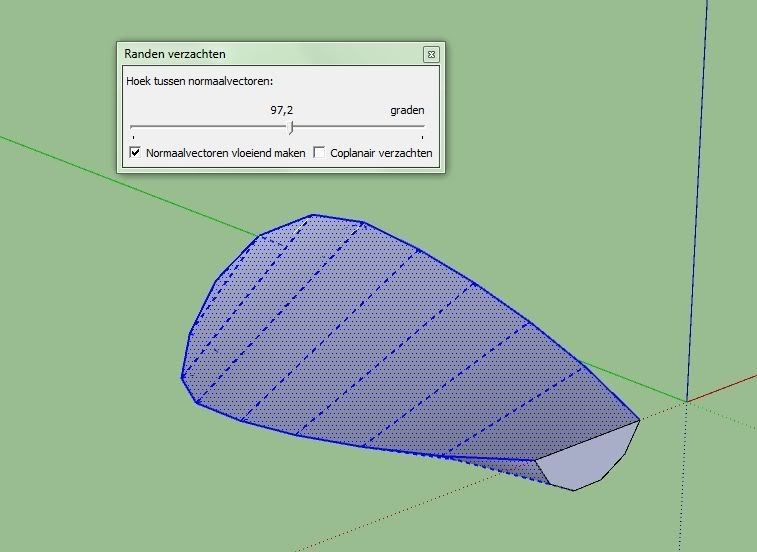
Whow, look at the result:
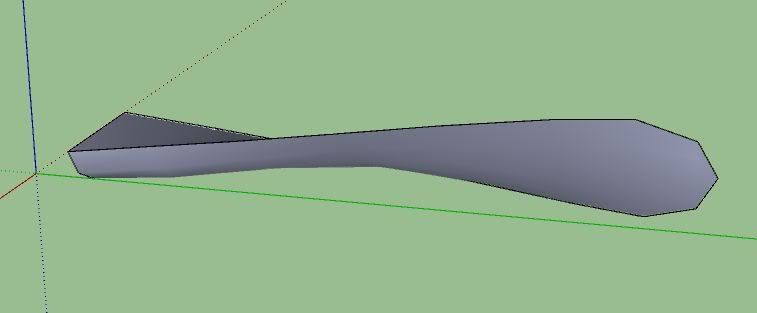 That's
 smooth!
Ofcourse with more segments it looks even smoother.
now, select the entire blade, and press "G", now you will make a group, give it a name, press OK and move the blade out of the center of the scene, but
In center of the axis it's alligned to:
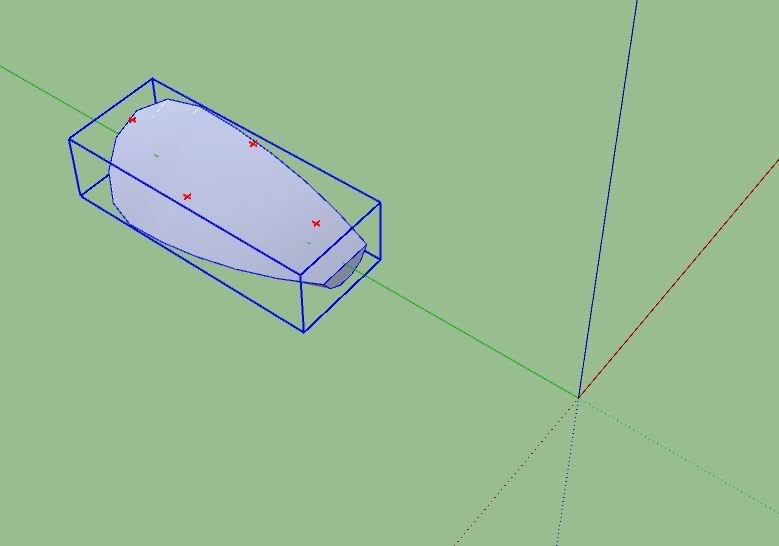 Step2: The cone
This step goes quicker.
Create a vertical rectangle on once side of the scene's center, alligning the blue axis:
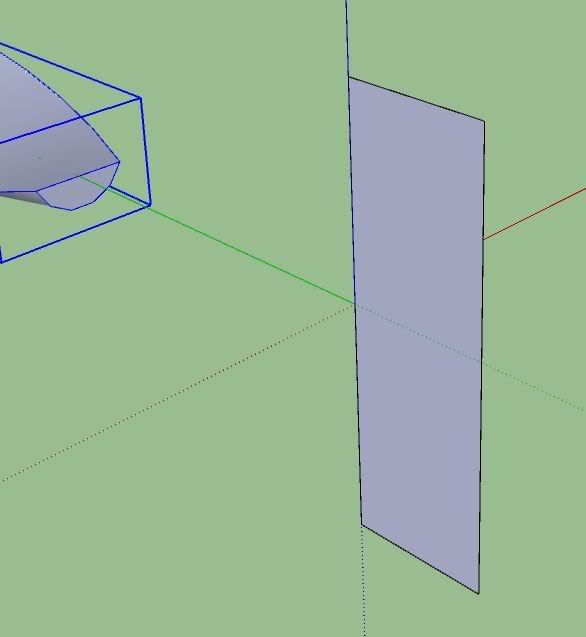
Create an arch for the top, again make sure it's highlighted cyan.
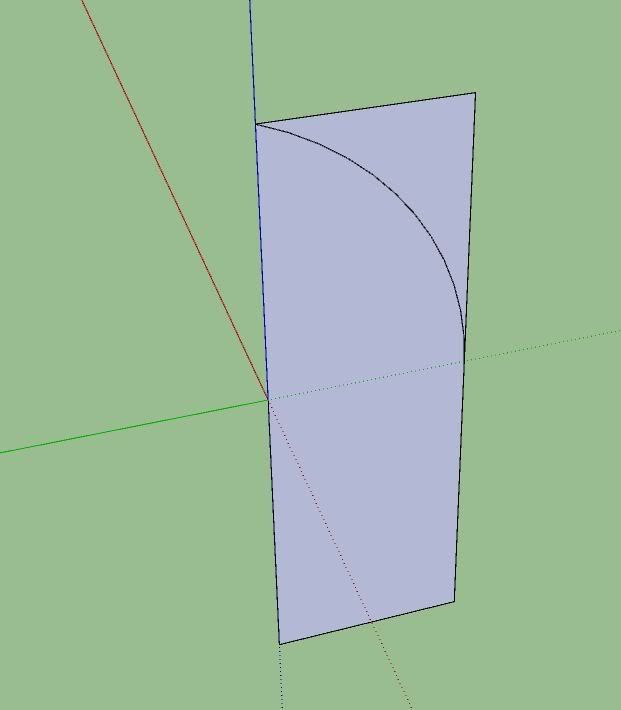
Now create a circle at the bottom of the cone, and delete it's surface.
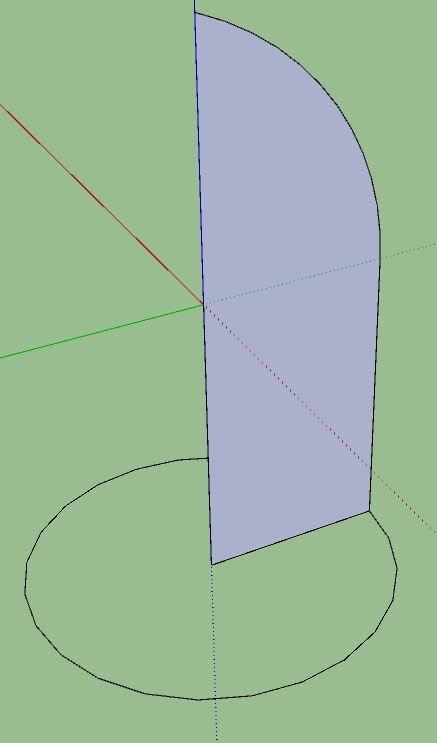
(for the cone it's not that importand to the ammount of work on how much segments these parts have, do only decrease this for optimizing reasons)
Then, go to Tools>Follow me, click on the cone, and drag it along the circle 360 degrees.
Now you should have something like this:
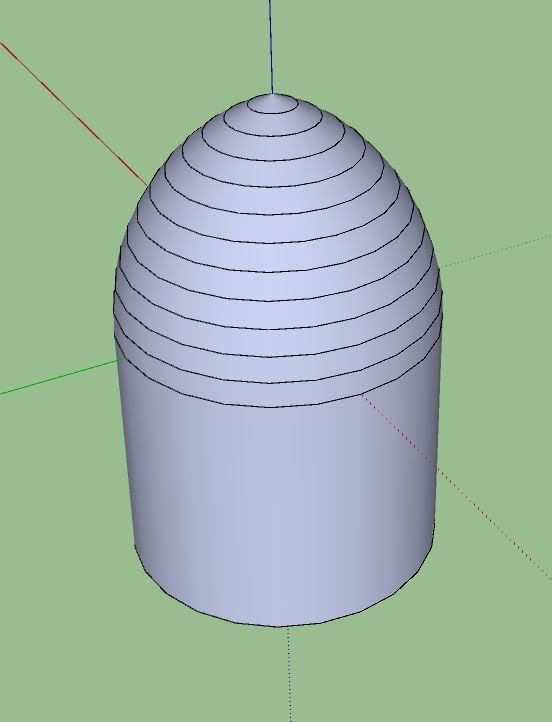
Select the top edges and smooth these aswell:
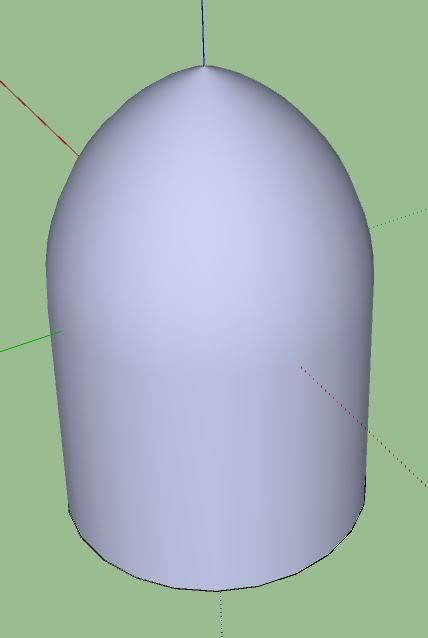
In my opinion, the cone is fat, I used the scale tool to scale the cone down in overall size and then scaled it up a bit in height, result:
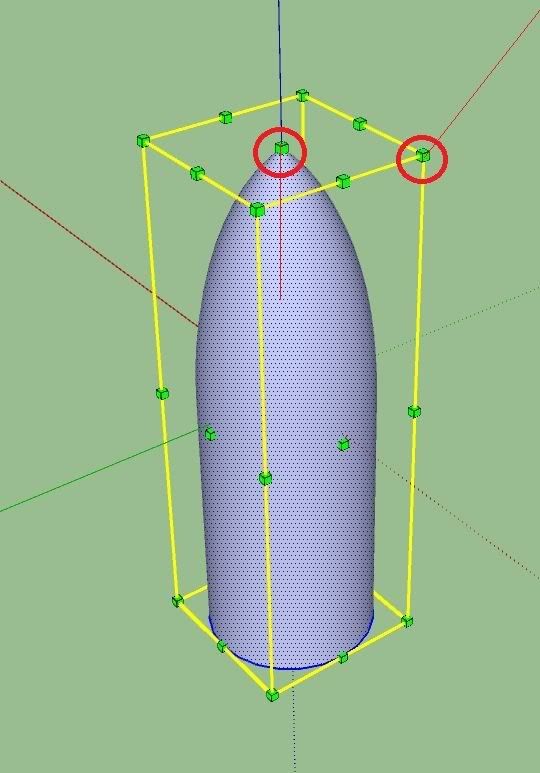
Hint: press ctrl when scaling, this way you'll scale towards the object's center instead of the opposite corner.
Step3: combining it allhere it finally comes together!
click on your blade and drag it into the cone:
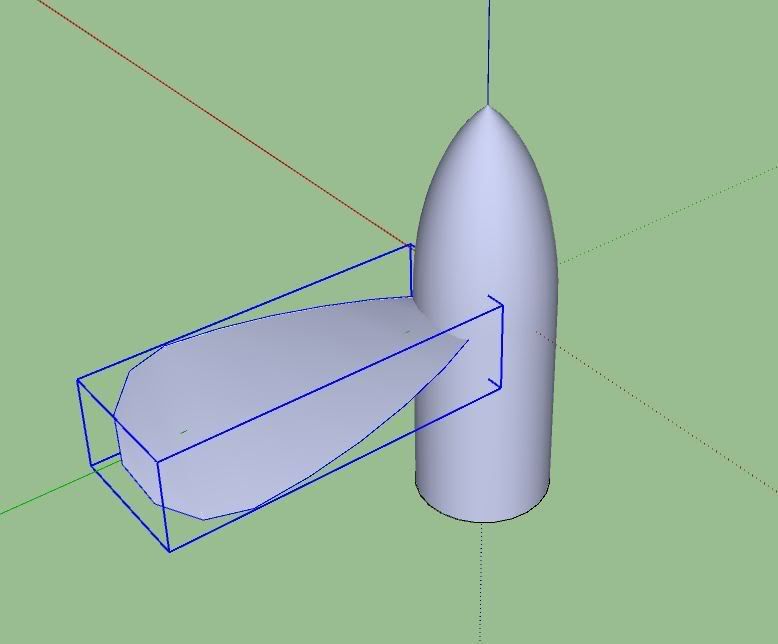
when selected, use the rotating tool, and rotate the blade along the blue axis.
While doing this, make sure you
press ctrl once, when you do, you'll notice a small plus next to the cursor.
you will now rotate a duplicate from your original blade.
do this 3 times 90 degrees and this will be your result:
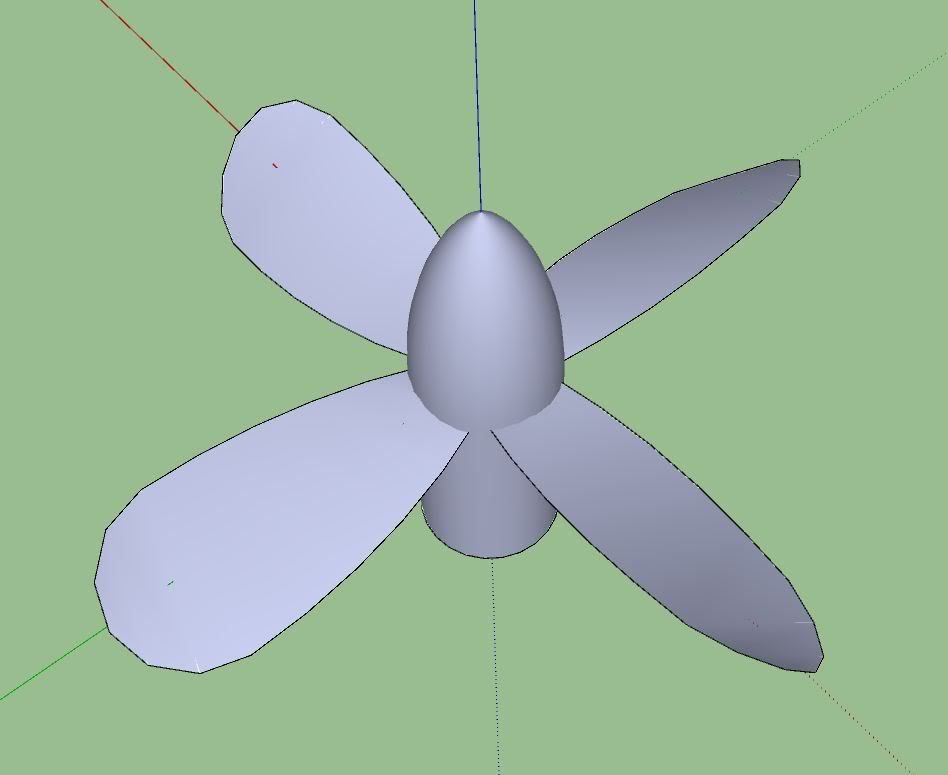
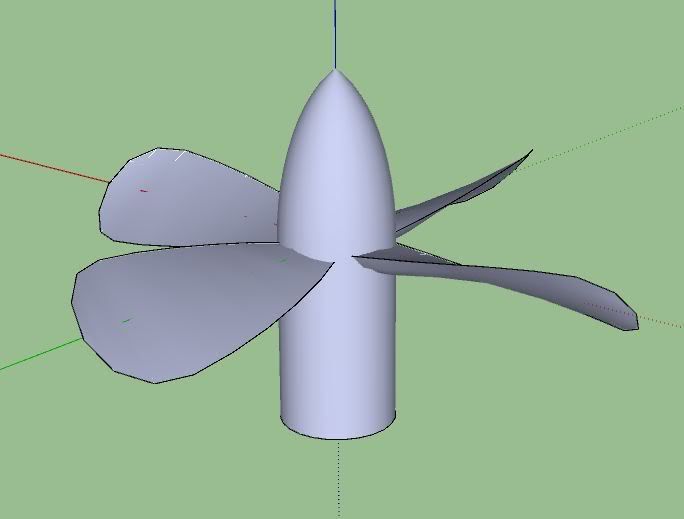
Voila! you got yourself a nice screw! optimized and ready to go!
Please let me know if anything is still missing from the tutorial.
Ofcourse I hope this was helpfull to you all!
I have attached the .SKP file for reference.
Feel free to use it on your model, but I would recommend making your own ofcourse


